


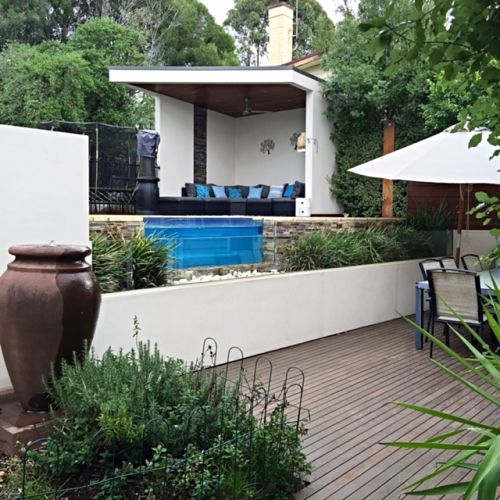
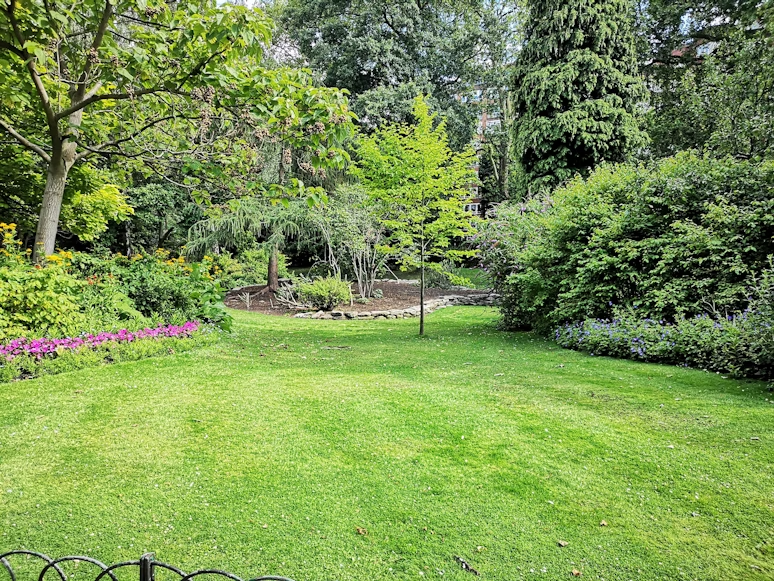
With summer now well underway, it’s the perfect time to start those outdoor projects – and what could be more rewarding than turning your poolside party area or outdooring dining space from drab to fab?
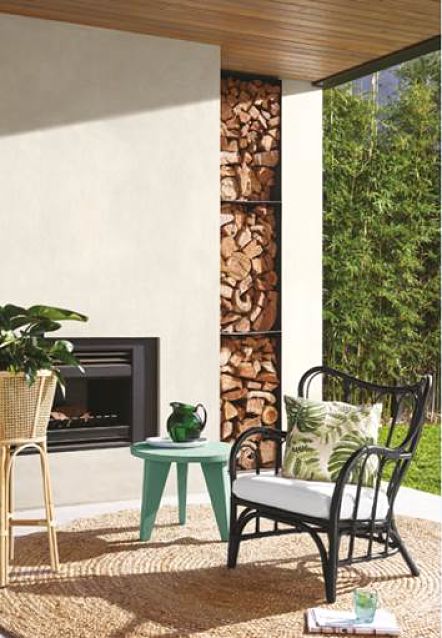
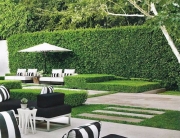
Whether you are after a chic poolside party area, a sunroom retreat or patio outdoor dining setting, a lick of paint over the weekend can go a long way to modernise and refresh your outdoor area.
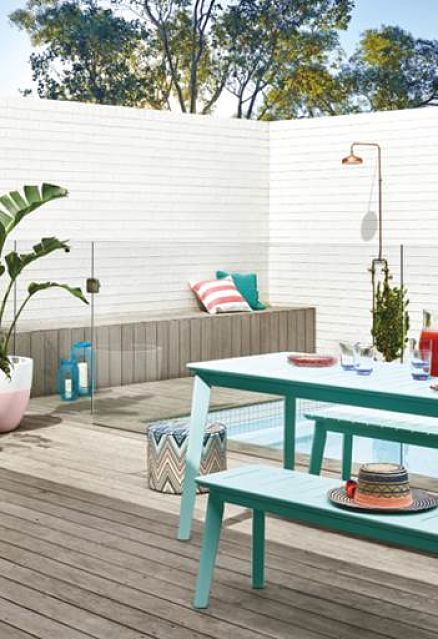
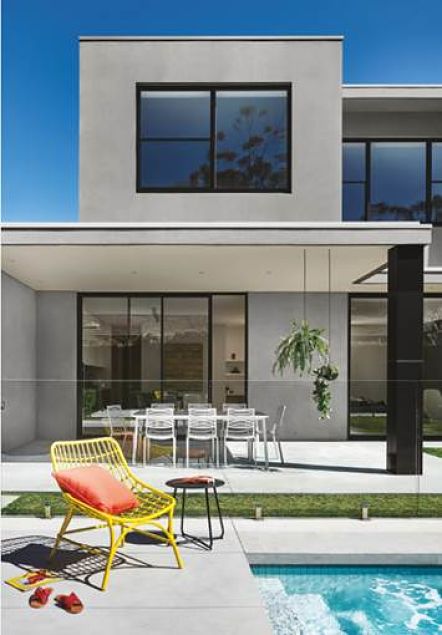
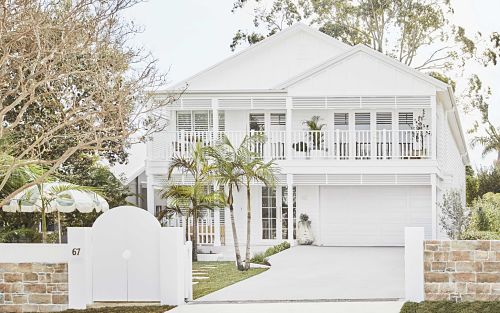
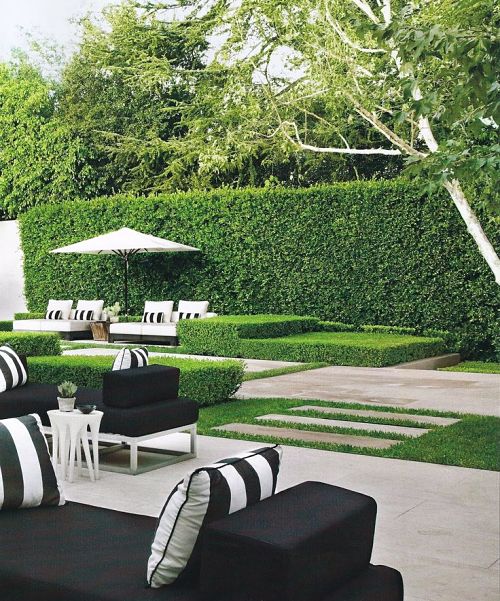
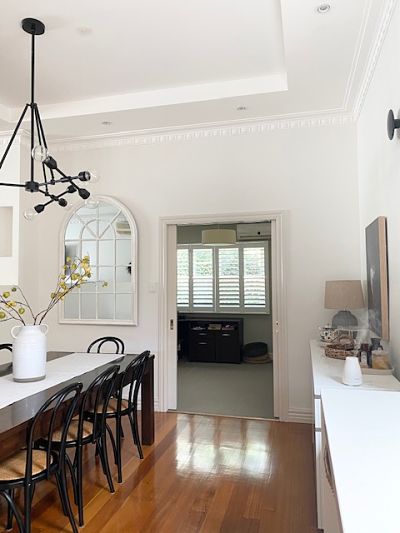
Dulux Colour Expert, Andrea Lucena-Orr says lashings of a cooler colour such as pale mint, or bold yellow contrast beautifully with exterior neutrals – timeless blacks, whites and mid-tone timbers – which instantly amplifies an outdoor area’s style quotient.“
These quick painting projects can be completed over the course of a weekend, meaning you’ll still have plenty of time to show it off to your guests throughout the season of outdoor entertaining. Here are some poolside DIY projects you can try to get you on your way.
Walls
1: Gather your painting supplies – Dulux Weathershield in your chosen colour(s), drop sheet, high quality synthetic brush for cutting in, medium nap roller, roller tray, 400 grit sandpaper, painter’s tape, old cloths.
2: Ensure the surface has been properly prepared prior to starting to paint.Follow the label on the can for more information.
3: Start by cutting in around the edges of the wall with a brush – they are areasthe roller cannot easily reach.
4: Load the roller in the tray.
5: Start rolling the wall in an ‘M’ pattern. Continue over the same sectionuntil the wall is evenly covered. Roll up to the area of 1m2 size or paint walls in sections.
6: Before painting starts to dry, using an unloaded roller, begin in the top left corner of your wall and gently let the roller roll down to the base in a straight line with no pressure. A lightness of touch will prevent new roller marks from forming. Repeat this action only this time, slightly overlap your last movement so your roller rubs away the line created by the previous stroke. Continue this across the area you have painted. This is called laying off.
7: Once the first coat is dry, repeat the total process again with a second coat. A third coat is required for bare/new surfaces and depending on colour selected.
8: Allow the first coat to dry and repeat the total process again with a second coat.

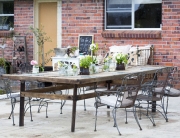
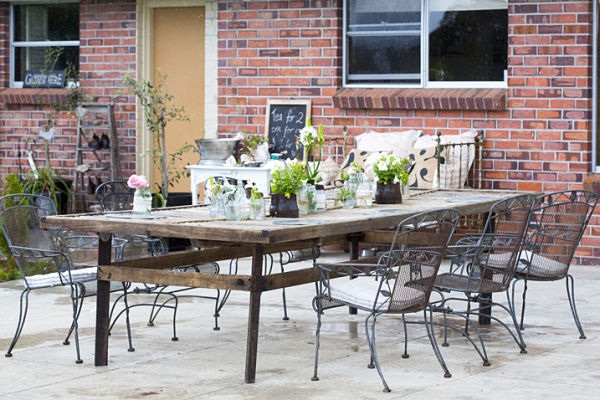
Table and Bench Seats
1: Gather your painting supplies – Dulux Aquanamel in your chosen colour(s), Dulux 1Step Prep (if applying on a new timber surface), drop sheet, high quality synthetic brush for cutting in, short nap roller, roller tray, 400 grit sandpaper, painter’s tape, old cloths.
2: Ensure the surface has been properly prepared prior to starting to paint. If thisis a new timber surface, prime with Dulux 1Step Prep. Follow the label on the can for more information.
3: Start by cutting in around the edges of furniture piece.
4: Apply Dulux Aquanamel to the surface using short, horizontal brush strokes.
5: Once you’ve completed an area, lightly smooth over the painted section withlong brush strokes. Do not reload the brush when you do this. As a tip, do not brush too much – a few strokes should be enough to smooth the surface.
6: Allow 2 hours to dry, then give the surface a light sand with 400 grit sandpaper.
7: Repeat above steps for a second coat.
Have fun with your DIY this Summer, let me know how you go.
For more information about simple DIY projects for the home using
Dulux Weathershield or Aquanamel, visit www.dulux.com.au


