


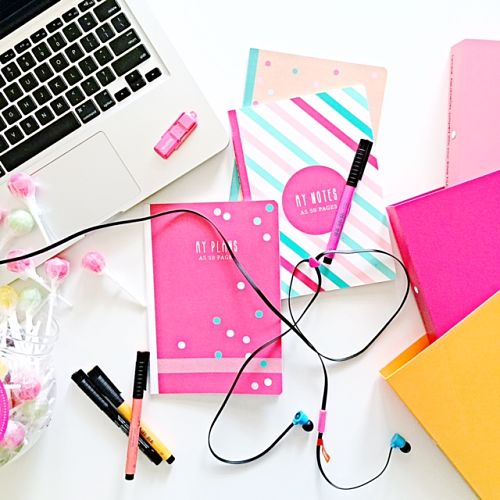
It’s quite easy to style the perfect flatlay. Some say they aren’t even a vignette but I adore them and have so much fun putting together little stories in a flat composition.
There are 5 easy steps to a flatlay. Theme, light, balance, height, edit, that’s it. Have a fun with your flatlay and by following my 5 easy steps you’ll master the flatlay too.
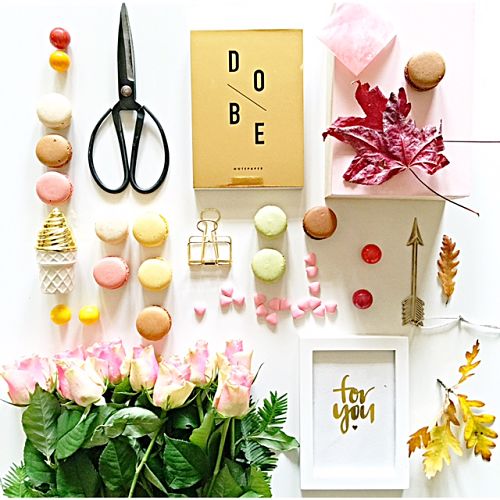
5 Easy Steps to a Flatlay
Step 1. Theme
Find a theme of objects that you want to photograph. Is it a new collection of photos, is it nature and sharing your sweet tooth. It could baby objects, autumn leaves, things you collect, stationery. It’s really up to you but these will form your flatlay.
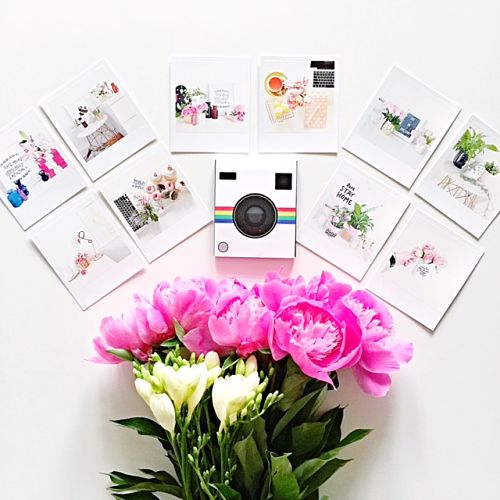
Step 2. Light
I cannot stress this enough. Light is so important. Natural light will show off your objects in the best way so find a good spot to set out your collection. Artificial light can be a bit yellow so choosing the best time of day to shoot your flatlay is crucial.

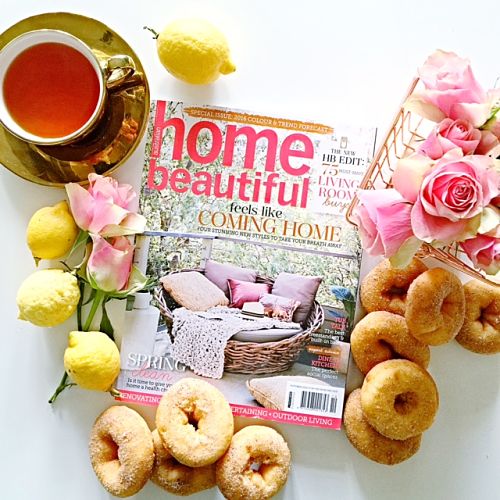
Step 3. Balance
Finding the right balance can be tricky. Take your time and take a few shots to see if you get it right. Is the photo too top heavy? Is there not enough to one side? Let your eye be the guide but the key to a good flatlay is finding the right balance.

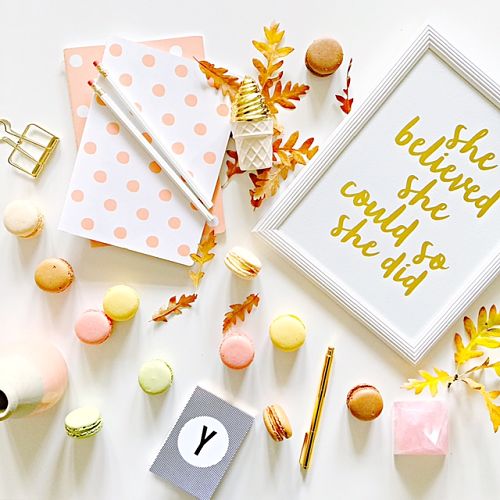
Step 4. Height
I shoot all my flatlays on my coffee table. When shooting in square format I am able to achieve the right height to fit all my objects in the square frame. Height is very important with the flat lay. You can zoom in or out to get the right adjustment for your objects. Cutting off some of the objects in the photo is good too and keeps the image interesting.
Step 5. Edit
Edit, edit and edit. I often will spend a couple of minutes adding then removing items from my flatlay. Then I will rearrange. I will always take about 5 shots and choose my favourite from that. Look at your image and let your eye tell you if it needs something else or if it is over crowded. Editing is a great skill to have when styling.
Now it’s your turn. Create some flatlays and use my 5 steps to get the best results. I hope you have fun along the way.


Hi Yvette.
What do you use to take your photos? Ie phone, iPad or dslr camera and then what program do you edit in?
Great article. Thanks.
Hi Kylie
Thanks for your comment. I use a Iphone6+ for all my shots.
Yvette
x
Thanks for the post. How do you avoid getting your own shaddow in the photo hen shooting from above??
Hi Tenille
Thanks so much for your lovely comment. I see what you mean about shadows but I make sure I move myself out of the frame so there is no shadow. Waiting for the right time of day also can help.
Yvette
x