


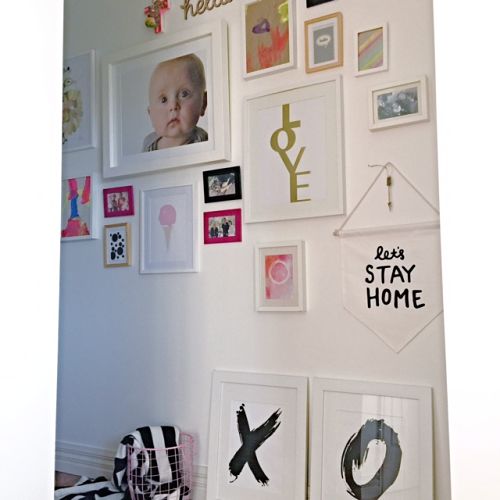
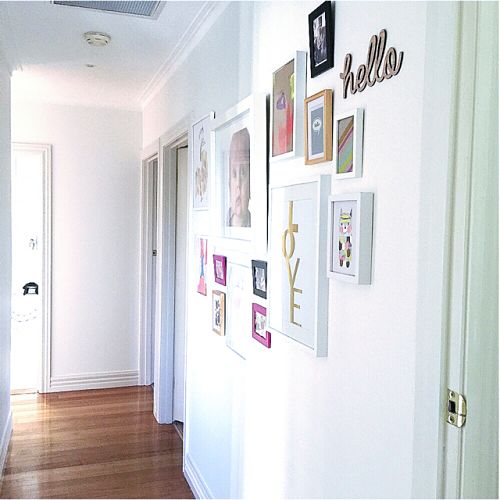
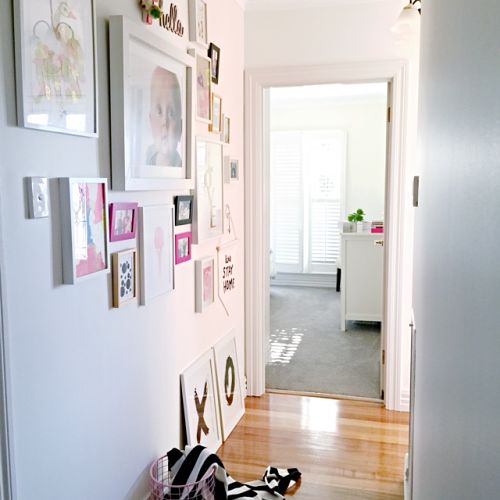
Picture gallery wall’s are a fun way to decorate your walls and add a bit of your own style to your home. It can be on any space of wall just like I have done here in my entry hall way. There are a few simple rules to follow to get the look just right so today I teach you how to create a gallery wall in 3 easy steps.
Step 1.
Lay out all your artwork on the floor before hanging it on the wall. This will give the visual you need to see whether you need to add more artwork to the collection to give your gallery wall a bit more body.
Step 2.
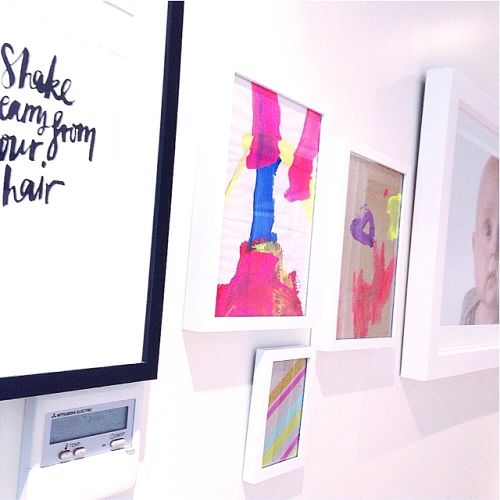
If you are having difficulty visualising the space then you can use washi tape to mask out the ares on the wall. The trick here is to try and include a number of vertical and horizontal works and making sure they are at the right height as to not clutter the space. You could also add child’s artwork framed, banners and crosses to your wall.
Step 3.
Start hanging on the right side and then move to the left. Also stand back from the wall on several occasions so that your eye can be the judge on where to put the artwork. Most importantly try not to overthink it and have fun.
Do you have a picture wall at your place?

| . |


